Contents
MeetingRoomApp Cloud & On-premise
- How to Update Your Scheduling Displays
- How to Change the Appearance of Your App – STYLEBOOK
- Scheduling Rooms in Google Calendar
- Scheduling Rooms in Microsoft Outlook
- New kiosk mode for iPads – Single App Mode
- Hidden Features and Gestures
- Kiosk Mode for Android Device (Screen pinning)
- Kiosk mode for iPad (Guided Access)
- Integration with Microsoft 365
- Integration with G Suite (Google Apps for Work)
- Integration with Microsoft Exchange 2010 and above
3rd Party Integrations
PDF’s Brochures
- MeetingRoomApp Brochure
- How to Book a Meeting Room and Use the Basic Functions (Mini)
- How to Book a Meeting Room and Use the Basic Functions
Android Tablets
MeetingRoomApp Mini (Legacy)
New kiosk mode for iPads – Single App Mode
23.10.2018
Guided Access vs Single App Mode
If the regular Guided Access Mode doesn’t suit your needs, you can make use of the more sophisticated Single App Mode, which allows you to manage your devices and offers more options as well as Blueprints, templates that can be applied to one or more devices.
You can benefit from Single App Mode in a number of ways: more options to protect your device controls, e.g. disabling Home Button or Volume Buttons; or disabling screen rotation.

If you are going to use multiple devices, we recommend that you create a template – Blueprint – that will apply to individual devices.
How to set Single App Mode?
CAUTION! THIS STEP WILL ERASE YOUR DEVICE DATA
1. Download and install Apple Configurator 2 from the App Store.

2. Open Apple Configurator 2 on your Mac and connect your iPad to Mac using a USB connector.

3. Disable Find My iPhone/iPad in iPad Settings -> iCloud.
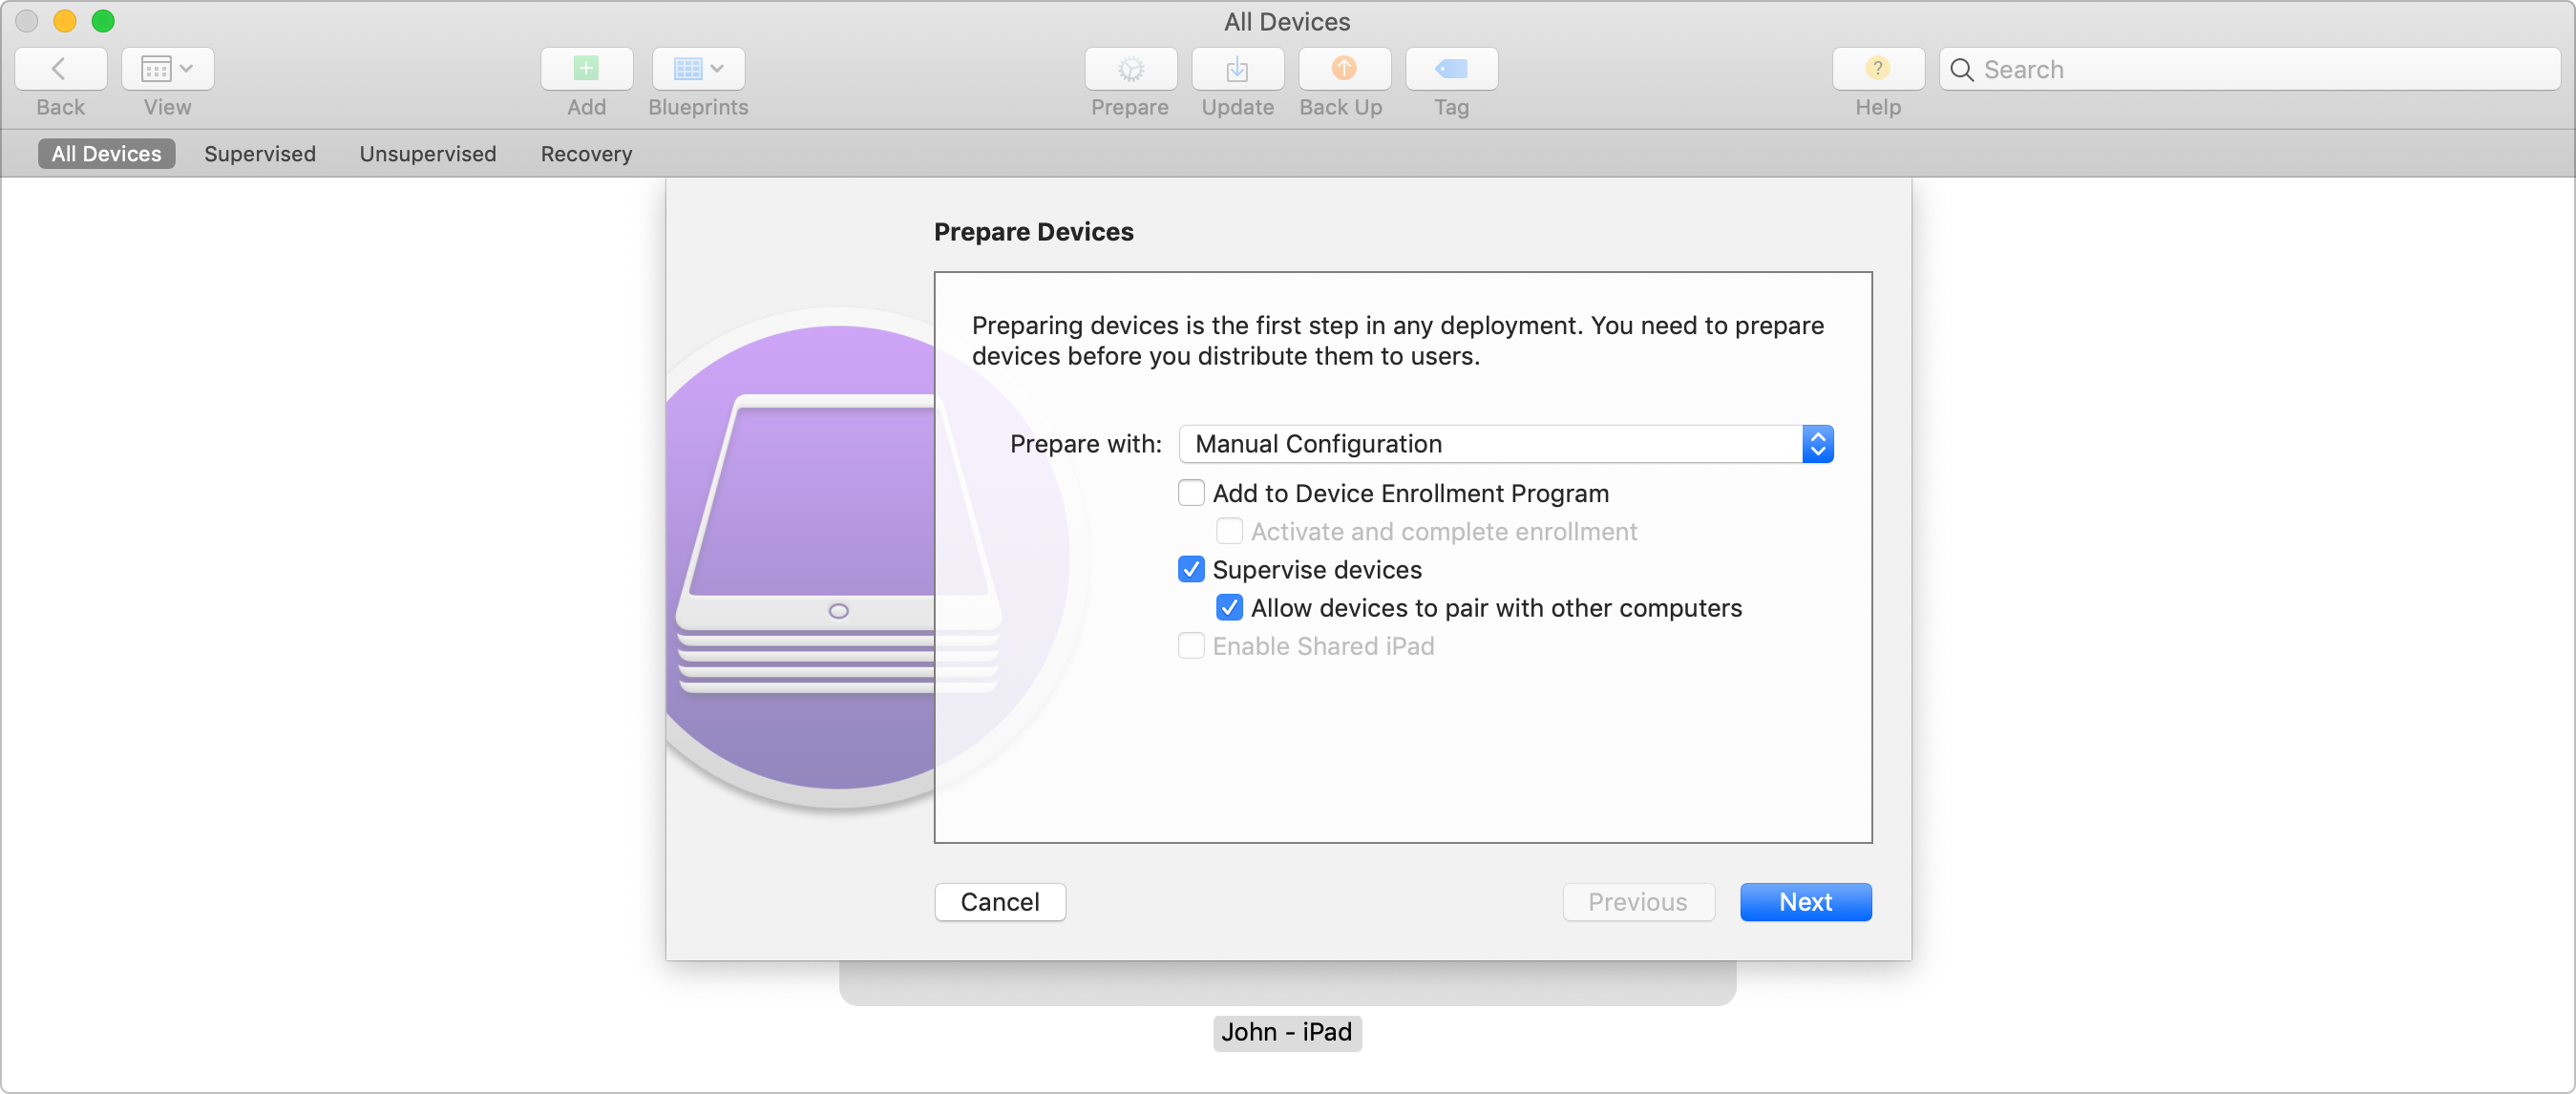
4. Right click on the device in Apple Configurator 2 and select Prepare.

5. Follow the guide and when prompted, sign in to the enrollment program or use your iCloud account. Your device data will now be erased!

a)

b)

c)

d)

e)

f)

6. Go back to your iPad. Go through all the standard setup screens: language, WiFi etc. until you get to the standard home screen. (I chose to “set up as new iPhone” and skipped the Apple ID prompts.)
7. Check if the device appears in the Supervised device. If it does, the procedure has been successful.

8. Disable the display lock in iPad Settings -> Display.
9. First, left click to select the device and then right click on the device and choose “Advanced -> Start Single App Mode…”

10. Select the app and click on options (there are options to disable power, volume and other). Select the required options (touch + motion) and click on Apply. You will launch Single App Mode by clicking on Select App.

